
Princess Leia wears this outfit in Empire Strikes Back while she and Han are on Bespin (a.k.a Cloud City). It only appears on-screen for a few brief minutes, but it instantly became a favorite of mine. When I started the research for this project, little did I know just how much detail was on the cloak. Once I knew just how much time would be involved, I had to figure out how much time I had between the time I started the project in January until I left for CIV in May. I spent approximately 20-25 hours/week working on the embroidery for the cloak...in all, close to 400 hours, just on the embroidery!!
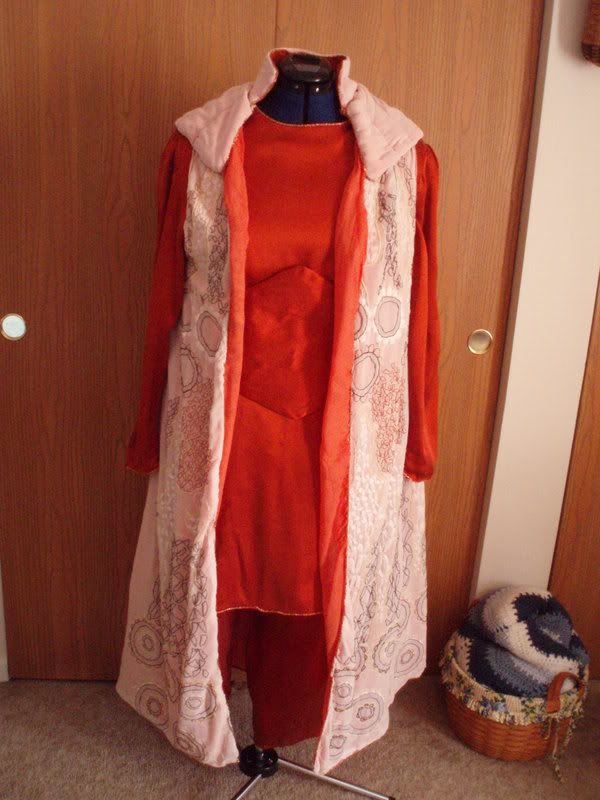
Following will be the details on the construction of this "gown"...patterns, fabrics, embroidery floss, etc. The outfit consists of a long top/dress with a triangular-shaped belt; harem-style pants; and a heavily-embroidered cloak. The original cloak was actually a curtain panel!! The collar, hem, and wrists of the top have a coppery-colored trim, as does the outer edges of the cloak. The embroidery on the cloak is shadowed to show through a sheer inner layer. Her shoes match the color of the top and pants, and are a slight wedge-style. Her hairstyle consists of a bun and two looped, cascading braids. Others who have made this costume state that the most difficult part of this project, aside from the embroidery, was figuring out the color of the top and pants...with the color appearing different at different angles and lighting. I just chose something that looked close to what I could figure out from pics I have seen and that would compliment my skin/hair-tone.
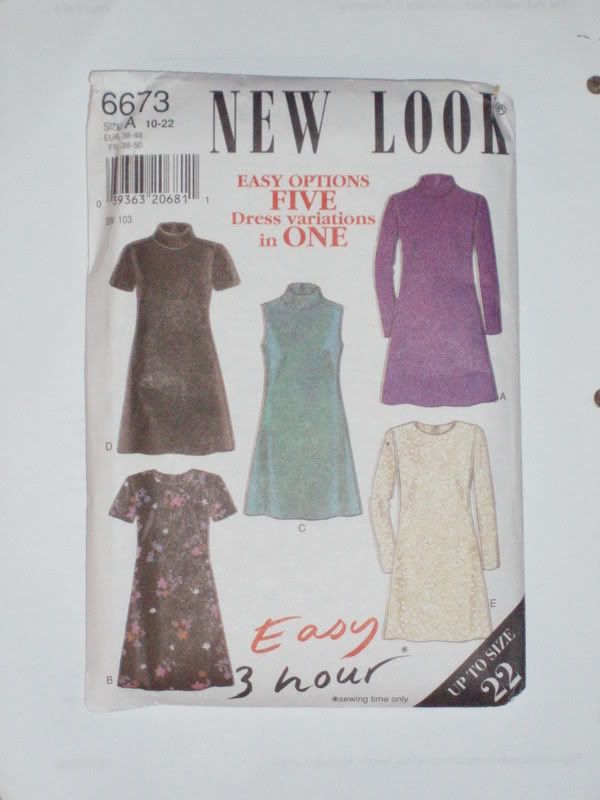
TOP
Pattern:
New Look (Simplicity) 6673(E)
Fabric:
Sueded Silk Charmeuse in Cayenne (Thai Silks; number 011D-615)
**See below for trim information
BELT
I drafted the pattern for the belt with the assistance of detailed pics and information provided by fellow costumers. I used the charmeuse for the fabric, since it is supposed to match the top and pants in color. I then used fusible interfacing to stiffen it up a bit, and cut a piece of craft foam to slip inside to help hold the shape. Snaps were used to close the opening at the back where the craft foam is inserted, and heavy-duty hooks and eyes were used to connect the ends of the belt in the back.
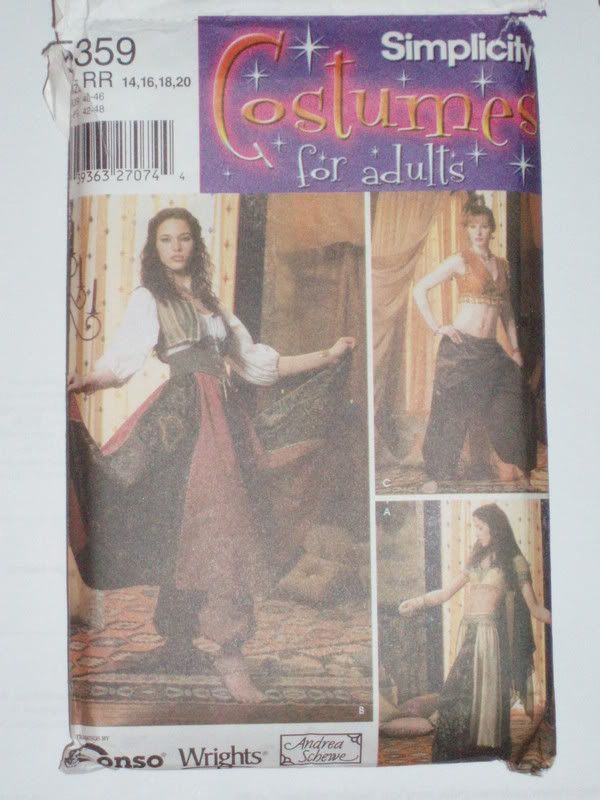
PANTS
Pattern:
Simplicity 5359 (B or C would work)
Fabric:
Sueded Silk Charmeuse in Cayenne (Thai Silks; #011D-615)
CLOAK
Pattern:
I essentially drafted my own pattern by trial and error. I took some relatively cheap sheer fabric with the hang and flow of my good fabric, hung/pinned it on my dressform, and cut it. I then estimated about how much fabric would be used to make the cloak, and cut that from the yardage of good fabric I had ordered. Essentially, it turned out to be 2 yards of material for the embroidered portion of the cloak, and less than 1 yard for the triangular-shaped collar.
Fabric:
10mm Silk Chiffon (54") in Natural White (Thai Silks; #070E-000)
Embroidery Floss: All DMC Brand
838
975
301
3078
Blanc
**See below for trim information
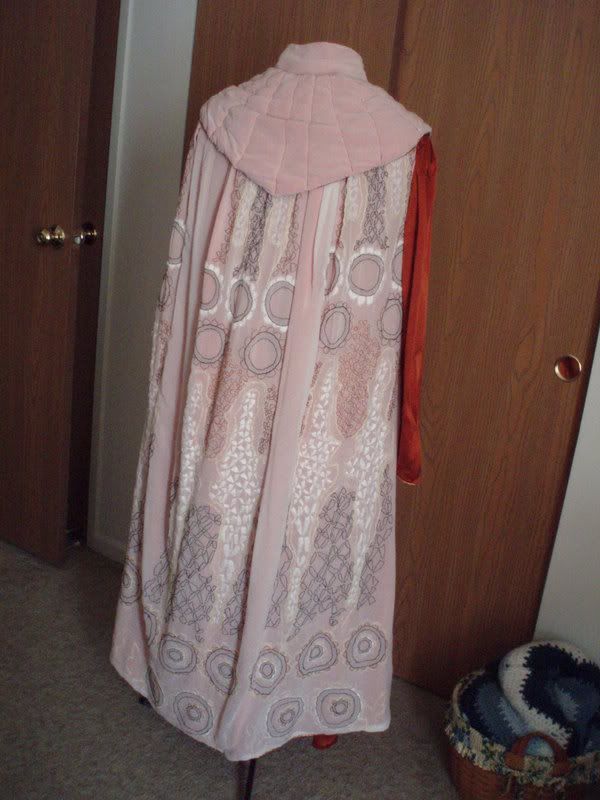
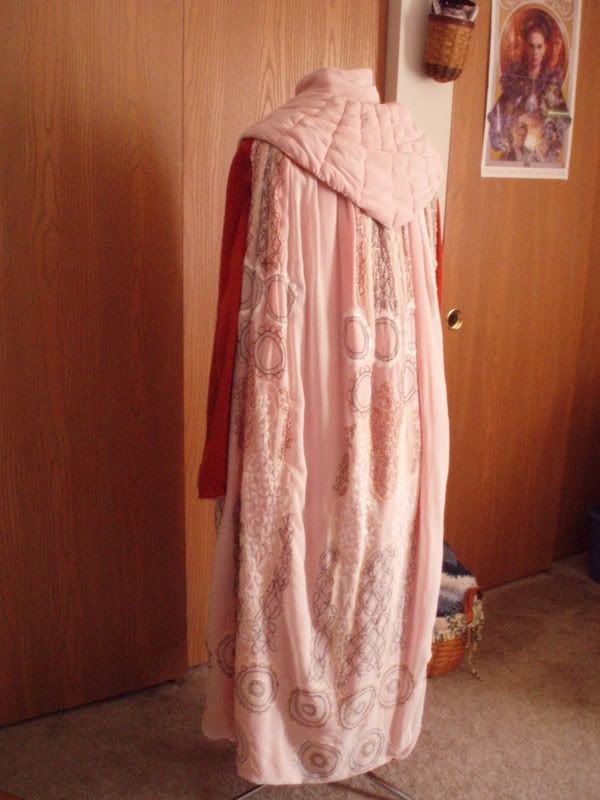
**The outer layer (embroidered layer) was left as the natural white color. The inner contrasting layer was dyed using a 1:1 mix of Scarlet and Sunshine Orange RIT Dye to make the color paprika. When the fabric was washed out after the dying, the color lightened to more of an orangish-red...lighter than the fabric used for the top and pants. However, when the cloak is placed over the under layers, the dyed chiffon looks darker. The triangle-shaped collar consists of several layers: outer layer = natural white chiffon; second layer = dyed chiffon; third layer = thin fusible batting; inner layer = sueded silk charmeuse in cayenne. The collar is also "quilted" with the same color thread that was used to stitch the top and pants together.
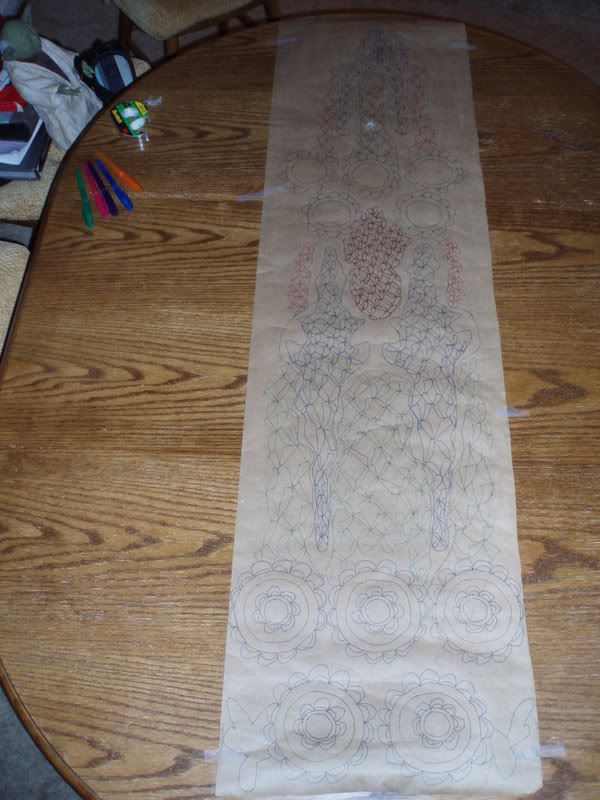
The cloak is heavily embroidered...and here is the pattern I drafted with many pain-staking hours of research, sketching, erasing, and more sketching. I spent approximately one month, a few hours each night (3-4 nights/week) drafting this out. I first drew the pattern in pencil onto a light brown paper, and then traced over the pencil with pen. When it was time to start the embroidery work, I traced the color-coded pattern onto Sulky Totally Stable stabilizer, which was supposed to stick to the fabric after ironing it on and to be removed by tearing it away. However, since the fabric was 100% silk and the pattern was so long, I had problems with the stabilizer sticking to the fabric. Luckily my embroidery hoop helped with keeping the stabilizer in place during the embroidery process.
TRIM
I used a metallic cord for the trim on the top and cloak. To attach the cord to the garment, I used DMC 5279 (metallic copper), and it matched perfectly.
The cording was a metallic rattail cord in copper. I ordered it from Greenberg & Hammer, Inc (www.greenberg-hammer.com) back in November 2006. I just tried looking for it online, but could not find it (the item number provided on the invoice was not valid).
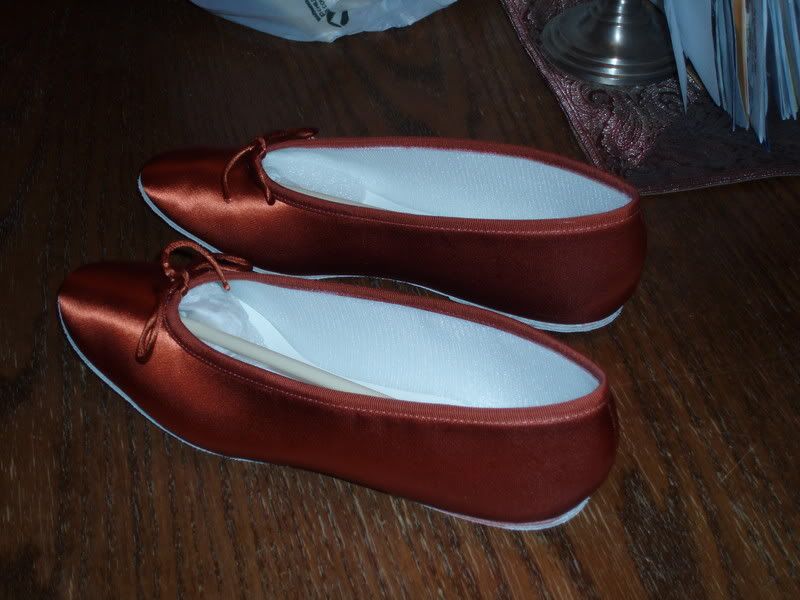
SHOES
I had problems finding shoes that were either ballet-flat or with a slight heel, satin, and dyeable. I finally found a local bridal shop that carried satin, dyeable ballet-flats...so I paid the small extra fee to have them custom dyed to my fabric swatch. Here are the shoes, and here they are next to the fabric.
HAIRSTYLE
For the hairstyle, I had to order extensions, as my hair is definitely not long enough. I found an on-line company that carries red pieces/wigs...and red that matches pretty closely with my own natural red. I ordered a "switch" for the bun and two long braids. Here are the pieces I used (they look slightly brownish in the pics, but they are red).
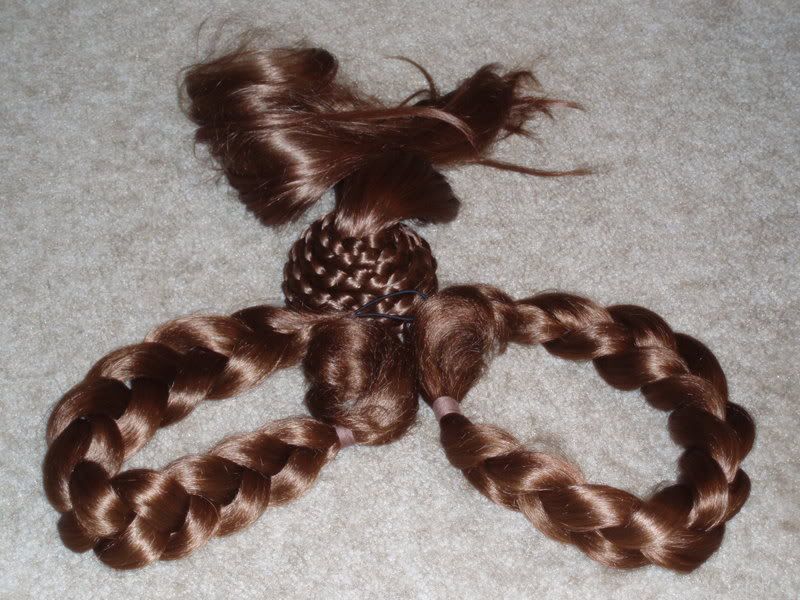
Here are the pics of the final product. This outfit truly is comfortable to wear, and I cannot wait to wear it again!!